A subtle touch

Sometimes a simple addition can change the whole dish.  I’ve already posted how salmon is one of my go-to dishes for dinner.  The kids love it and will eat it in almost any way I’ve prepared it.  But, this simple addition of Matcha salt, a powdery green tea infused sea salt, on top of the finished pan roasted salmon, makes it that more delicious and the kids greedily gobbled up.  My husband brought home a small sample of Matcha after he’d cooked a Japanese themed dinner at the restaurant alongside some real Japanese trained chefs.

It’s really amazing how subtle the Matcha salt is but how it transforms the dish in an almost indescribable way: slightly salty, slightly sweet.   If you can get your hands on some, you’ll see what I mean.  Just add a sprinkle on top of some grilled fish or shrimp and the subtle difference will convert you.
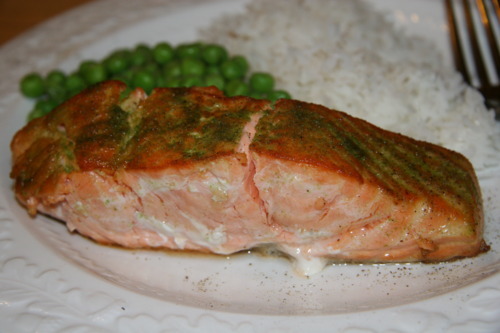
 

My middle son exclaimed when he saw me cutting the salmon into portions to cook, “I don’t want salmon! …Well, unless you have that green stuff on it.”  I told him that was exactly what I’d planned and he happily left me to continue cooking dinner without complaint.

Pan Roasted Salmon with Matcha Green Tea Salt

Fresh wild caught salmon (about 1 lb)

1 Tbsp olive oil

Matcha to taste (about 1 tsp)

optional fresh ground pepper

Preheat oven to 350F. Cut the salmon into 2-3 inch width slices and with a sharp knife score the skin (shallow crisscross cuts).  Heat olive oil in sauté pan with oven-proof handle.  Place salmon pieces into oil skin side up.  Cook for about 5 minutes (you see the color change up the sides from dark to light) and turn over.  Place in oven for another 5-8 minutes (depending on thickness of your salmon).  Remove from oven (Remember the handle is hot.  I place an oven mitt on it, so I don’t grab it.) and sprinkle the Matcha salt over the salmon tops. Serve with rice, vegetables and/or salad. 

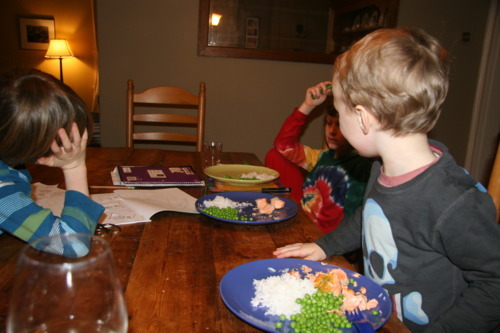
Watch everyone devour it!

It’s also such a quick dinner.  After play dates and homework help there wasn’t much time and I didn’t have any fresh vegetables in the house.  Still had a wonderful, healthful meal.

My eldest ate his so quickly that my middle son was nice enough to share some of his with his older brother.
More Birthday Week Treats

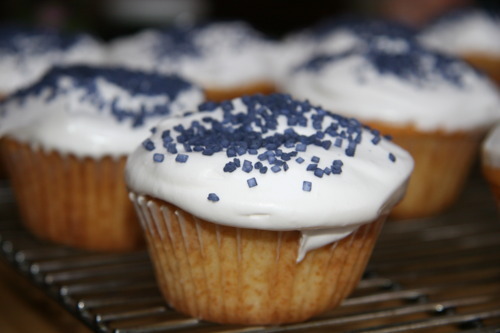
So for my son’s dinner at home with sitter I made cupcakes, then dinner with friends and his party at Chuck E Cheese’s (hate the place- torture for parents, bliss for kids) cakes with the vanilla cake recipe and meringue frosting with variations. I only made 12 cupcakes so I halved the recipe.  For the birthday party cake I made one layer chocolate and a middle layer of vanilla ice cream with crushed Twix bars.  If you read my post from my youngest’s birthday party in November my attempts at making an ice cream layer cake was a disaster.  This time I got it right.  Everyone seemed to like it though the cake itself was much harder than the ice cream.  Not sure how to remedy that.
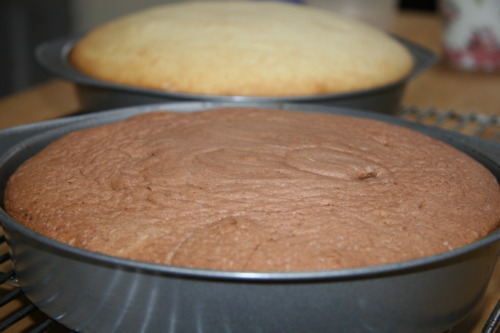
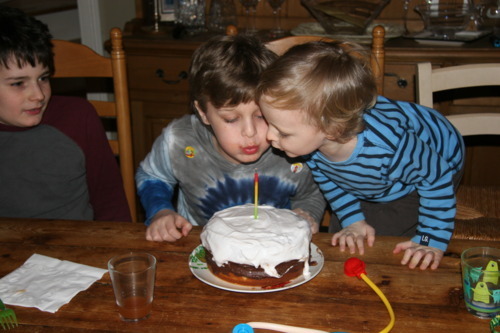
Traditional Vanilla Birthday Cake  (Adapted from Magnolia Bakery)

2 sticks butter, softened

2 cups sugar

4 large eggs, room temp

2¾ cups flour

1½ tsp baking powder

¼ tsp salt

1 cup milk

2 tsp vanilla

Preheat oven to 350F.  Grease 2 round cake pans and line bottom with parchment paper. Sift flour, salt and baking powder together twice and set aside.  Mix milk and vanilla and set aside.  Using electric mixer cream the butter until smooth and gradually add sugar.  Beat until fluffy then add eggs one at a time, continuing to beat well.  Add flour and milk alternating each in 4 parts, beating well after each addition.  Divide batter among the two pans.  Bake for 20-25 minutes until golden and cake springs back when pressed slightly or toothpick comes out clean.   Let cool on rack before removing from pans.  Frost when completely cool.

  • If using ice cream as layer, put cakes in freezer for at least an hour after cooling. Soften ice cream until spreadable and store in freezer until nearly ready to serve. 
  • I added half a pack of chocolate pudding mix to my finished batter once I poured half in one cake pan so one layer was chocolate.
  • For cupcakes, just divide among lined muffin tins and bake for 20 minutes. I used naturally colored sprinkles I found at Whole Foods.
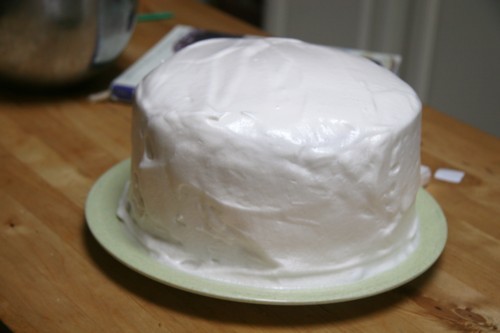
  • For friends’ visit cake I made a chocolate cream layer by whipping cream, adding 1 tsp gelatin dissolved over cold water, and ½ package of melted chocolate chips. I used up the leftover frosting from the cupcakes, which only half covered the cake.  It didn’t look as pretty, but was still pretty delicious!

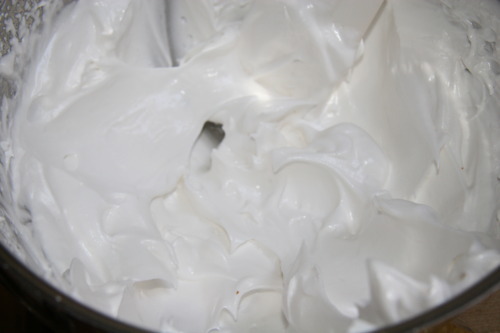
Magnolia Bakery’s Meringue Frosting (“Fluff” frosting)  

3 egg whites

1½ tsp vanilla

½ cup cold water

1½ cups sugar

just over ¼ tsp cream of tartar

Combine egg whites and vanilla in mixing bowl and set aside. In saucepan over high heat combine the water, sugar and cream of tartar.  Bring to a boil stirring once, then let boil for 2-3 minutes and remove immediately.  On medium high speed of electric mixer, beat the egg whites and vanilla with whisk attachment for about one minute until foamy.  Without turning off mixer, pour sugar syrup into egg whites in a thin, steady stream. Continue to beat for about 5 minutes until stiff peaks form.  For stickier frosting(more marshmallowy consistency) continue to beat longer.

Only kids without sweet-tooths would not like these!  And, there are no artificial flavors, colors or preservatives so you can let them have a treat and not worry as much.

Birthday Week

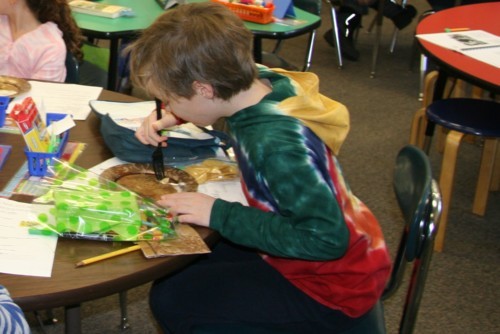
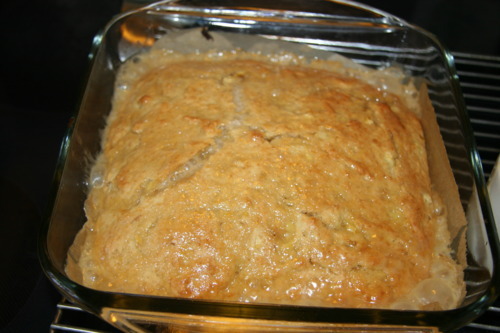
My eldest son just turned 9 two days ago.  9!  As my friend’s daughter reminded us they’re now in their last single digit year.  So bittersweet.  Well, time for all the sweets to overcome any bitterness.  For my son’s school celebration I made a Sticky Toffee Banana Pudding per his request. And for his at home celebration, for which I wasn’t there because I had an event at Whole Foods an hour away,  I made vanilla cup cakes with meringue frosting (very similar to Fluff) and naturally colored sprinkles.  We had friends over the following night and I figured I should use up the remaining merignue frosting and made a vanilla layer cake with chocolate cream center.  It was the first time in years that I’ve successfully baked a layer cake.

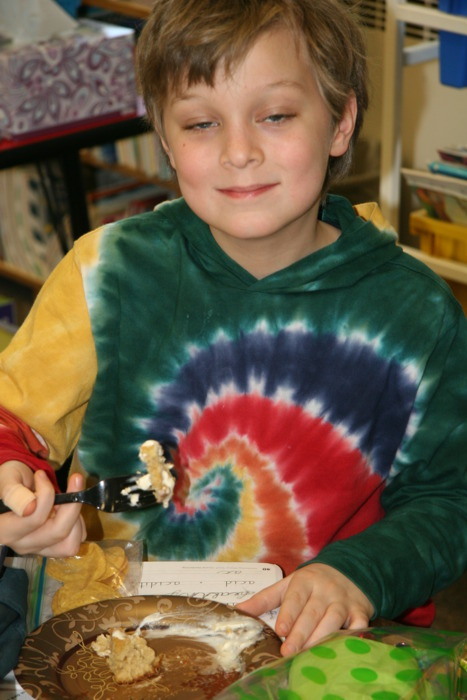
I found the Sticky  Toffee Banana Pudding recipe on Bon Appétit’s website.  I had made it the week before but found the cake part too similar to banana bread, so this time around I cut down on the flour.  It was less bready but still needs tweaking.  It is so delicious— bananas and toffee, how can it not be good!  My son’s class loved it!  My youngest son was off from school and was also able to join in the celebration. A couple of kids said they had to lick their plates it was so good.  (Now that’s a compliment!)  I served it with a scoop of vanilla ice cream. 

Sticky Toffee Banana Pudding (adapted from original by Lauren Chattman)

Banana Cake:

1 ½ cups flour

1 ½ tsp baking powder

½ tsp salt

1 ½ sticks unsalted butter, softened

3 Tbsp brown sugar

2 large eggs, room temp

3 very ripe bananas, mashed

2 tsp dark rum

2 tsp vanilla

Toffee sauce:

⅓ cup cream

¾ cup brown sugar

1 tsp vanilla

½ stick butter

Preheat oven to 350F.  Grease and line with parchment an 8×8 square baking pan.

Sift together twice the flour, baking powder and salt and set aside.  Using an electric mixer cream the butter and sugar.  Beat in one egg at a time.  Add bananas, rum and vanilla.  (Looks curdled).  Add flour mixture in 4 parts, beating after each addition.  Spread batter into pan and bake for about 35 minutes until toothpick or skewer inserted into center  comes out clean.  Spread half the toffee sauce over cake and return to oven for 6 minutes.  Cool on rack for at least 20 minutes.  Serve with remaining toffee sauce and whipped cream or ice cream.

I will post the cupcake and birthday cake recipes soon.