Fried Rice– perfect for using up leftovers

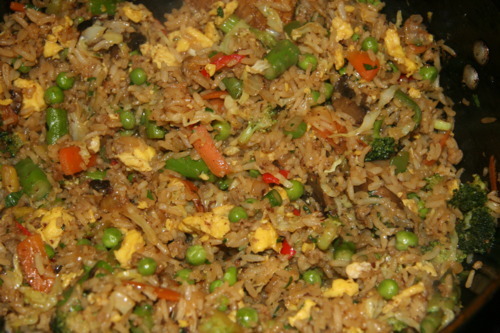
One wonderful way to use up leftovers is to make a stir-fry.  And a fabulously delicious and nutritious stir-fry is fried rice (home made anyway).  We used up scrambled egg from breakfast;  rice, a bit of vegetables and a few scraps of pork from dinner.  This is adaptable depending on what you have left over or in the fridge.  Ours was colorful with plenty of yummy vegetables and delicious flavors from the ginger, soy, sesame and garlic.  It is also quick to cook— it’s just chopping that takes any time. 

It’s best to use cold rice for this, so if you need you can always cook the rice then chill it before adding it to wok (or in my case, my Dutch oven).

Fried Rice

2-3 cups jasmine or basmati rice, cooked and chilled

pork, chicken, shrimp or tofu (I used about 6-8 oz pork)

2 eggs scrambled, chilled

handfuls of chopped vegetables:

    broccoli, asparagus, peppers, mushrooms, carrots, cabbage

½ cup peas (defrost if frozen)

½ cup edamame (defrost if frozen)

½ med onion, diced

2-3 cloves garlic, minced

1½ inch piece ginger, grated

1½ Tbsp soy sauce

1 Tbsp sesame oil

2½ Tbsp canola, sunflower or grapeseed oil

1 Tbsp rice wine vinegar

sea salt (if needed) & ground pepper

handful of cilantro, chopped

Blanch for a couple of minutes any vegetables that need longer cooking time like broccoli, carrots and peppers. Set aside and chill.  Add the canola oil to a wok, sauté pan or other appropriate pan, and once hot add the onion cooking for few minutes.   Add the garlic and meat until almost cooked through.  Add remaining ingredients except rice and cilantro.  Let vegetables soak up flavors then add rice (breaking apart and lumpy bits). Stir often and adjust seasoning (soy, sesame and pepper) to taste.  Cook on medium-high heat for about 3- 5 minutes.  You’ll want to make sure you don’t overcook the vegetables so they lose color or nutrients.  Stir in cilantro.  Serve immediately and enjoy!
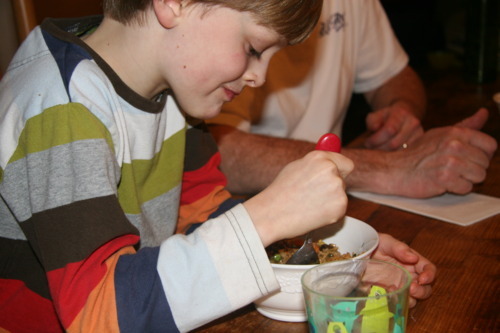
 

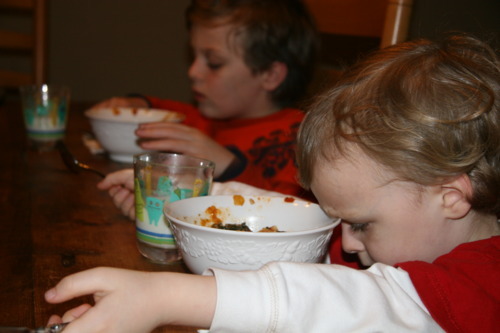
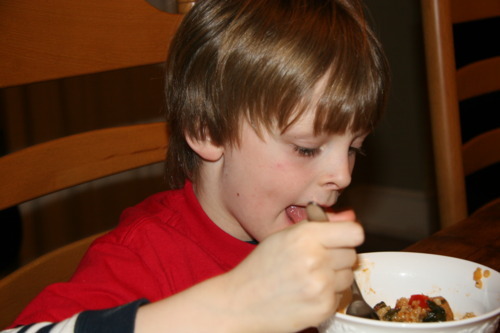
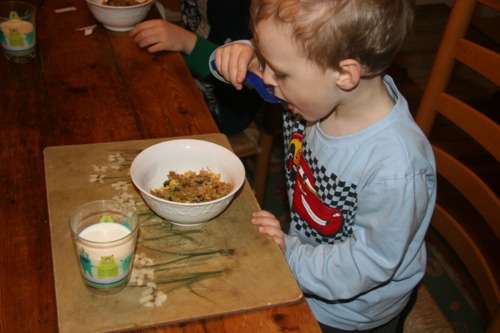
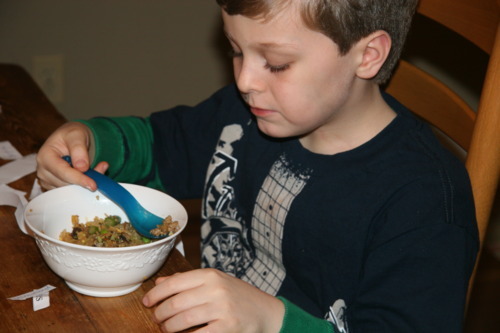
My kids loved this.  The colors are vibrant, the taste is yummy and there’s a few of their favorite vegetables and a couple of not-such favorites they might actually eat since it’s all blended together.
Dukkah

When I was back in New Zealand last year I was lucky enough to be treated to some fabulous food at some of NZ’s premier restaurants— Logan Brown, The Mattahorn, Martin Bosley.  While we were eating at Logan Brown (yes, I had the Abalone Ravioli and loved them!) we were served a dry spice dip with bread and olive oil.  I was so enamored of the dip and when I inquired about it, they gave me the recipe!  Score! 
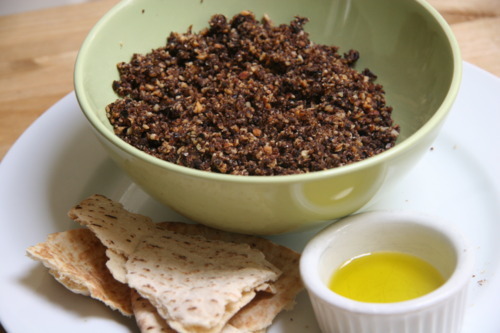
Dukkah is an Egyptian nut and spice dip, and this one also has dried olives.  It is so scrumptious and I’ve been wanting now for the past year to make it; and finally I did.  And I am so glad I did.  My kids loved it (it’s very salty and quite intense) as did my friends. It also got me to experiment with a new spice blend for another recipe.

This began as Logan Brown’s recipe but I had to change it a little because I didn’t have any hazelnuts but I did have Filbert (hazelnut) oil.  So I roasted the almonds in the oil. Continue reading

Roasted Bottoms… or Hearts

One of my girlfriend’s kids calls chickpeas (garbanzo beans) “bottoms” because they kind of look like bottoms/bums/heinies. Well when I told my eldest this, he thought they looked more like hearts.  I love either.  Fun images that conjur good thoughts in their minds.  If kids have positive associations with food, I believe it helps them try new things/enjoy good foods. 
I love that our kids enjoy a wonderful staple and will eat them in all different manners.  My friend’s sons eat them right out of the can as a snack.  Both our sons also love hummus.  I’ve been adding chickpeas to many dishes in the past year, but this week I tried a few new recipes and each time they were well received.  

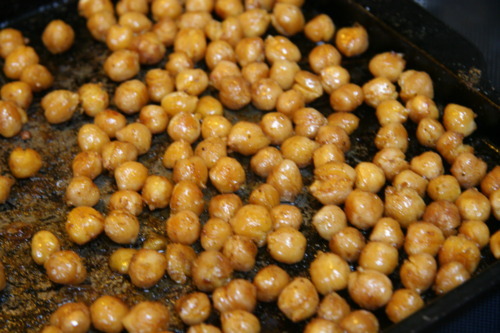
I’d been reading about roasted chickpeas for a while now so I thought I’d take a stab at making them.  There’s something about chickpeas that Moroccan spices come to mind, so i thought they’d naturally go well together in this manner.

Roasted Bottoms or Hearts (Chickpeas/Garbanzo Beans)

1 can chickpeas

1 tsp cumin

½ tsp cinnamon

½ tsp paprika

¼ tsp turmeric (optional)

⅛ tsp cayenne (optional)

sea salt and ground pepper to taste

Tbsp olive oil

Preheat oven to 375°F.   Mix all ingredients together in a bowl and spread out on baking sheet.  Roast in oven for 15-20 minutes.  Serve and enjoy!

So easy and so delicious!  Brought these as an appetizer to a party with kale chips and turkey meatballs.  My eldest son liked them so much that he blurted out in class (complete segue I gather), “Has anyone tried roasted chickpeas?  They’re delicious!”


I’ll post the dukkah and other creation later.

Greatest Dessert Find

An opportunity to cook for a friend who recently severely broke his leg came up yesterday and since I had so much housework to do, I seized the moment.  I’d much rather help someone out, especially when cooking is part of it, than vacuum or fold laundry. (And I wonder where my son’s avoidance of non-preferred tasks comes from.)  I was going to make pork chops, but I must have purchased old ones because they were no good.  So I changed to a Moroccan style (of course) stew with chick peas, chicken, tomatoes, peppers and kale.  I served it with couscous.  I ended up saving a little for us, which came in handy when our dinner plans changed at dinner time.  The boys ate it all without complaints and they really loved the couscous (it’s so quick and easy to make too).

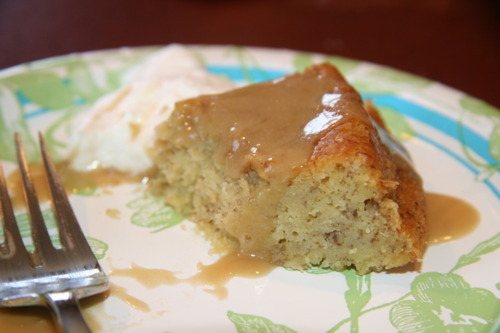
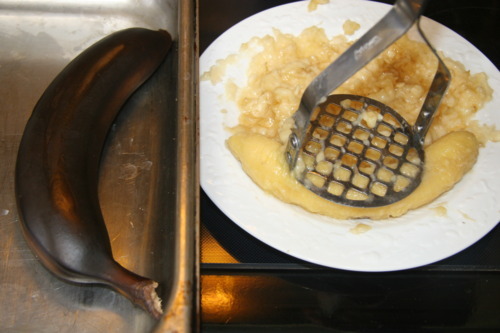
But what I really was excited about making and giving was the dessert.  It was the ultimate recipe that I’ve been trying to find but not quite finding the right one.  But this Banana Sticky Toffee Pudding was it; this one is really what I had been searching for all along.  The differences that make this recipe stand out against my other attempts are using less flour and baking it in a water bath but most of all roasting the bananas in their skins.  Roasting the bananas changes the chemistry of the starches/sugars before you mash them and their sweetness really comes out.  As one friend said, you could probably just take those mashed bananas and serve them over ice cream at that point.  I made the recipe in a one large dish a few days earlier but didn’t roast the bananas and realized what a difference it made after doing it.

The recipe comes from Ruth Pretty’s Favourite Recipes.  Ruth is a well-known New Zealand chef and author who has catered to cultural and political elite including royalty.  She has an amazing cooking school and catering facility on the Kapiti Coast, which I have had the pleasure of having touring with my close friend who works for Ruth.   Ruth herself was very sweet and I was truly in awe of her operation.  Well, I found the recipe while I was looking through the book trying to find a Pavlova recipe.  When I read it I knew I’d stumbled across the bestest of Sticky Toffee Puddings!!

Sweet Basil’s Sticky Banana Pudding via Ruth Pretty

3 ripe bananas (skin on)

180g unsalted butter, room temp

180g (¾ cup + 3 Tbsp) sugar

3 eggs

1 tsp vanilla extract

¾ cup flour

1½ tsp baking powder

¼ tsp salt

Grease 10 ramekins or other oven safe dishes.  Pour toffee sauce into base about ¼ inch deep and set aside.  Preheat oven to 200ºC (392ºF).  Place whole bananas in a baking dish and bake in their skins for 10 minutes or until they are mushy.  Cool.  Peel off the skins, mash and set aside. 

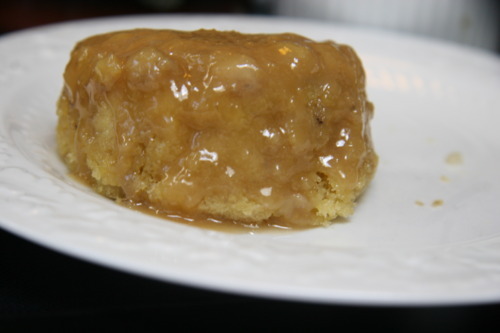
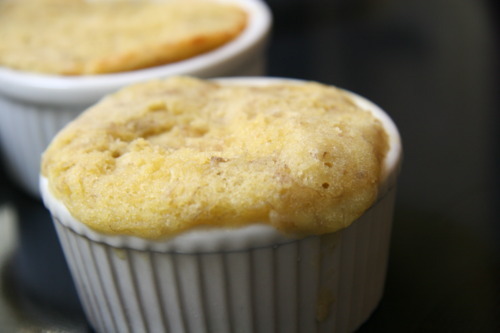
With an electric mixer, beat butter and sugar together until creamy and smooth.  Add one egg at a time, beating well after each addition.  Add banana and vanilla and mix well.  Sift flour, baking powder and salt into mixture and fold in.  Spoon batter into ramekins (allow for expansion) and place in a roasting dish.  Pour hot water to about 2 cm deep (or halfway up sides of dishes) in the roasting dish and cover entire dish with foil.  Place in oven and bake for about 30 minutes (until they’re spongy to touch).  Remove foil and cool on a rack.  To serve: run a knife around side to separate then tip upside down onto a plate, pouring toffee sauce from bottom over top of the pudding.  Add any additional warmed sauce you’d like and serve with whipped cream.  Sea salt on top is a nice option.This picture doesn’t really do it justice.  I was having camera trouble and this was the best I could do.
Of course my kids loved them… and the friend I made them for did as well! 

Portuguese Pork Stew with Spinach

Portugal has been known for its wonderful cuisine and great wines for centuries. I imagine Portugal’s proximity to the spice regions as well as its history (who the Portuguese conquered and who conquered them), vast exploration and trade explain many influences on its food, especially the spices used.  This dish has very distinctive  Moroccan influences.  If we make it with clams (yes, clams) and chouriço or linguiçasausage it is uniquely Portuguese.  This time, I’ve added Spinach to make it a more balanced meal for the kids. 

Portuguese Pork Stew with Spinach

1 pound Pork shoulder or butt

1 Tbsp olive oil

1 yellow onion, diced

3 cloves garlic, minced

1 red pepper (usually roasted but I felt like adding raw), chopped

1 tsp sweet paprika

1 tsp smoked paprika

6-8 threads of saffron

2 bay leaves

¼ cup white wine

1 ½ cups chicken broth

1 lg can tomatoes, chopped

handful parsley, chopped

handful cilantro, chopped

1 pack baby spinach, rinsed

salt and pepper to taste

You could also add potatoes and chickpeas to this dish. 

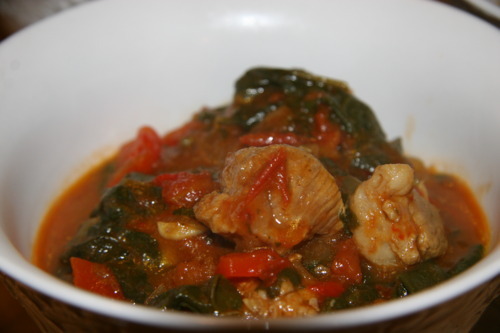
Take the saffron threads and crush them in your fingers into a small amount of hot water, set aside.  Over medium high heat brown the pork in olive oil and set aside.  Sauté the onion for 2 minutes,  add garlic and continue until onions are clear making sure you don’t brown the garlic.  Add the paprika and stir for a minute before adding the pork and red pepper.  Add saffron, wine, broth, bay leaves, and tomatoes. Bring to simmer, cover and reduce heat to low.  Cook for 25 minutes and stir in herbs.  Add spinach and continue to cook until wilted.  Served over brown rice.  It can be made in a slow cooker to cook for 6-8 hours if you prefer.  


My youngest son was in a bad mood when he got to the table and initially refused to eat saying he wasn’t going to eat it because it was “yucky” but once he had cuddle from mommy and a taste he happily ate it.  My middle son didn’t even make a fuss (he’s normally the one who complains when he sees dinner).  My eldest was eager to try it and deemed it “delicious” when asked his opinion of the dinner.


Thoughts of New Zealand

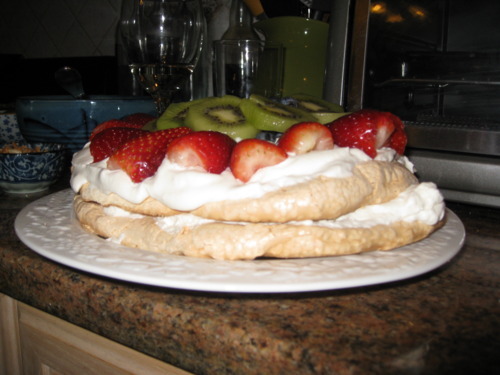
Lately I’ve been thinking often of my second home, the homeland of my mother and her family— reconnecting with old friends via facebook and linkedin, the Christchurch Earthquake and now my close friend’s father’s death (in Wellington) just the other day.  Well, all these thoughts turned into my contribution to our cooking club’s Global Cuisine Night. I made Pavlova, the national dessert of NZ for the first time.  
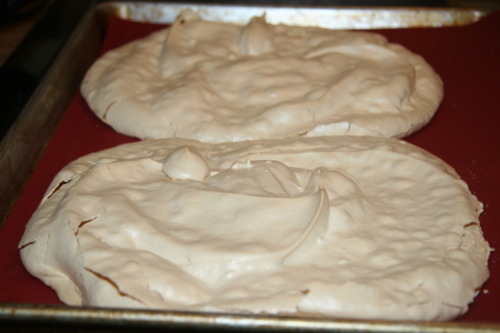
I have such fond memories of “Pav” and will probably make it again for my son’s third grade class when they have their monthly country food tasting in May.  They’ll be learning about New Zealand and trying foods from there then. 

Pavlova was fought over its origin by the Australians and New Zealanders up until recently as it was finally traced to NZ.  The meringue cake was originally made in New Zealand and an Australian chef named it after the visit to both countries of the Russian ballet dancer Anna Pavlova in the 1920’s.  

New Zealand Pavlova (national dessert of New Zealand)

4 egg whites

1 cup super fine sugar

1 tsp white vinegar

3 tsp cornstarch

1 tsp vanilla

1-2 cups fresh cream to whip

fresh fruit (cut and drained on paper towel)

Preheat oven to 400F.  Line a cookie sheet with parchment. 

Beat egg whites with whisk attachment of electric mixer until stiff peaks form.  Add sugar slowly (tablespoon at a time), continuing to beat entire time, add vinegar, vanilla and cornstarch.  Continue to beat for another 5-7 minutes until shiny and stiff.  Place mixture on parchment in a circle (or several circles for smaller/individual servings), swirling the top to be flat.  Place in oven and reduce to 250F.  Bake meringue for an hour.  Turn oven off and keep pavlova in there until cold (over night is best) so that the outside is crispy.

Before serving whip cream, spread on top and decorate with fruit (kiwifruit, berries).  I made two large “circles” and layered the cream between and on top.

The crispy outside and chewy inside make this such a popular dessert.  It’s light but very sweet.  The fruit you choose can give a great combination of sweet-tart.

Asian Style Kale Chips and Singapore Spiced Haddock

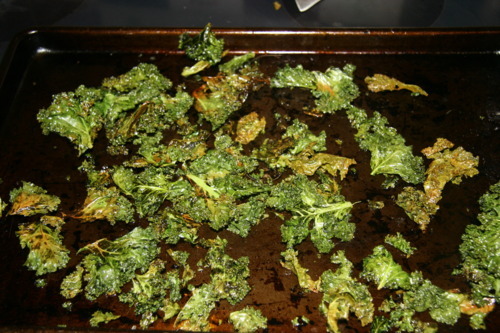
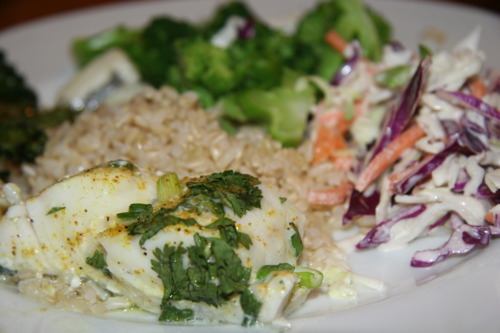
I was so excited to share these recipes I couldn’t wait to have the time to sit down and write.  On our first real warm day, after my kids had a fun and muddy playdate with some friends’ children, I had one boy wanting to stay for dinner.  He seemed especially keen when I said I was making fish.  He said he loves fish and seafood and got so excited to not only to stay to eat, but continuing to play with my sons.  I’d bought some Haddock and decided to make a variation of a recipe I’d created a month or so ago.  He loved it! But besides that I knew I had to make the kale chips.  So many people I follow (SC, FER, SK) have been blogging about them lately and I’d never made them before.  But I thought I’d change it up a bit by making it similarly to the roasted seaweed chips my sons adore. Sort of more Asian-style.  And, it not only worked, it far exceeded my expectations!  Woo-hoo! When my friend came to pick up her son she tried them and although she was full, she couldn’t stop eating them and took home what I had remaining for her husband.   I love that.  I love to see kids and people I care about eat well, enjoy food that I’ve served them.  It’s such a great gift to give them pleasure.

Roasted Kale Chips

  • 1 bunch kale
  • 1 Tbsp olive oil
  • 2 tsp sesame oil
  • sea salt to taste

Strip the leaves of the kale off the stems and tear them into smaller pieces.  Put them in a mixing bowl and add the oils and salt.  Toss well then place on cookie sheet. Bake in preheated oven at 350º F* for about 10 minutes until crisp. You might want to turn them halfway through. They are so light and crisy, you’d be surprised how thin they become.    *I found recipes that had higher temps but I found this worked well.


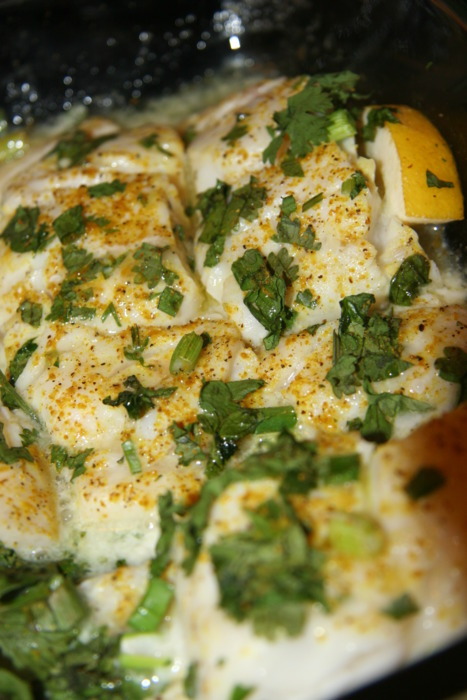
Roasted Haddock with Singaporean Spices

  • 1 pound Haddock
  • 1 large handful cilantro, chopped
  • 2 spring onions (scallions), chopped
  • 1-2 tsp Penzy’s Singapore Spice blend
  • ¼ cup dry white wine
  • 2 Tbsp grape seed oil (or canola)
  • juice from ½ lemon
  • sea salt and fresh ground pepper to taste

Preheat oven to 350º F Cut haddock into serving-sized portions.  Put 1 Tbsp oil into bottom of oven-proof pan. Place haddock in pan, skin side down and sprinkle spices over tops of fish.  Pour oil, wine and lemon juice over fish.  Cover with herbs and put in oven.

Bake for 10-15 minutes (depends on thickness of fish) until flaky but not dry. 

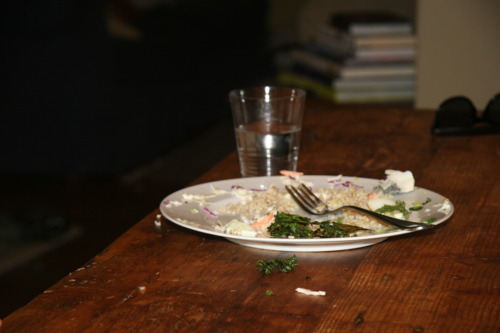
Now, my friend’s son wasn’t as into the kale as the fish, he did eat all his broccoli and most of his coleslaw.  All my sons liked the kale chips but funnily enough my eldest was the only one who didn’t care for the fish..   Friend’s son’s plate after he’d devoured the fish!
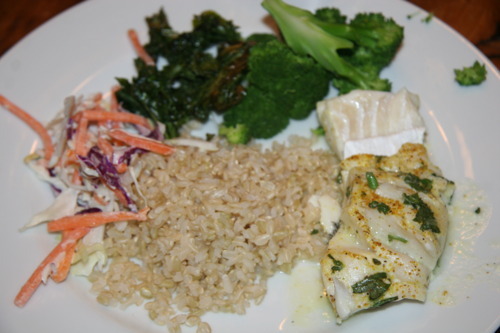
The coleslaw I made was very simple with just Savoy and red cabbage, carrots, lemon juice, mayonnaise, sugar, salt and pepper.   The whole dinner was perfect for a warm spring-like day that started with shirtless mud making and ended with sharing good food.